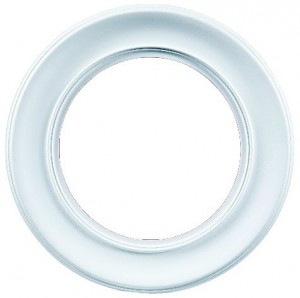
Contemporary 30" Ring, Ceiling Medallion
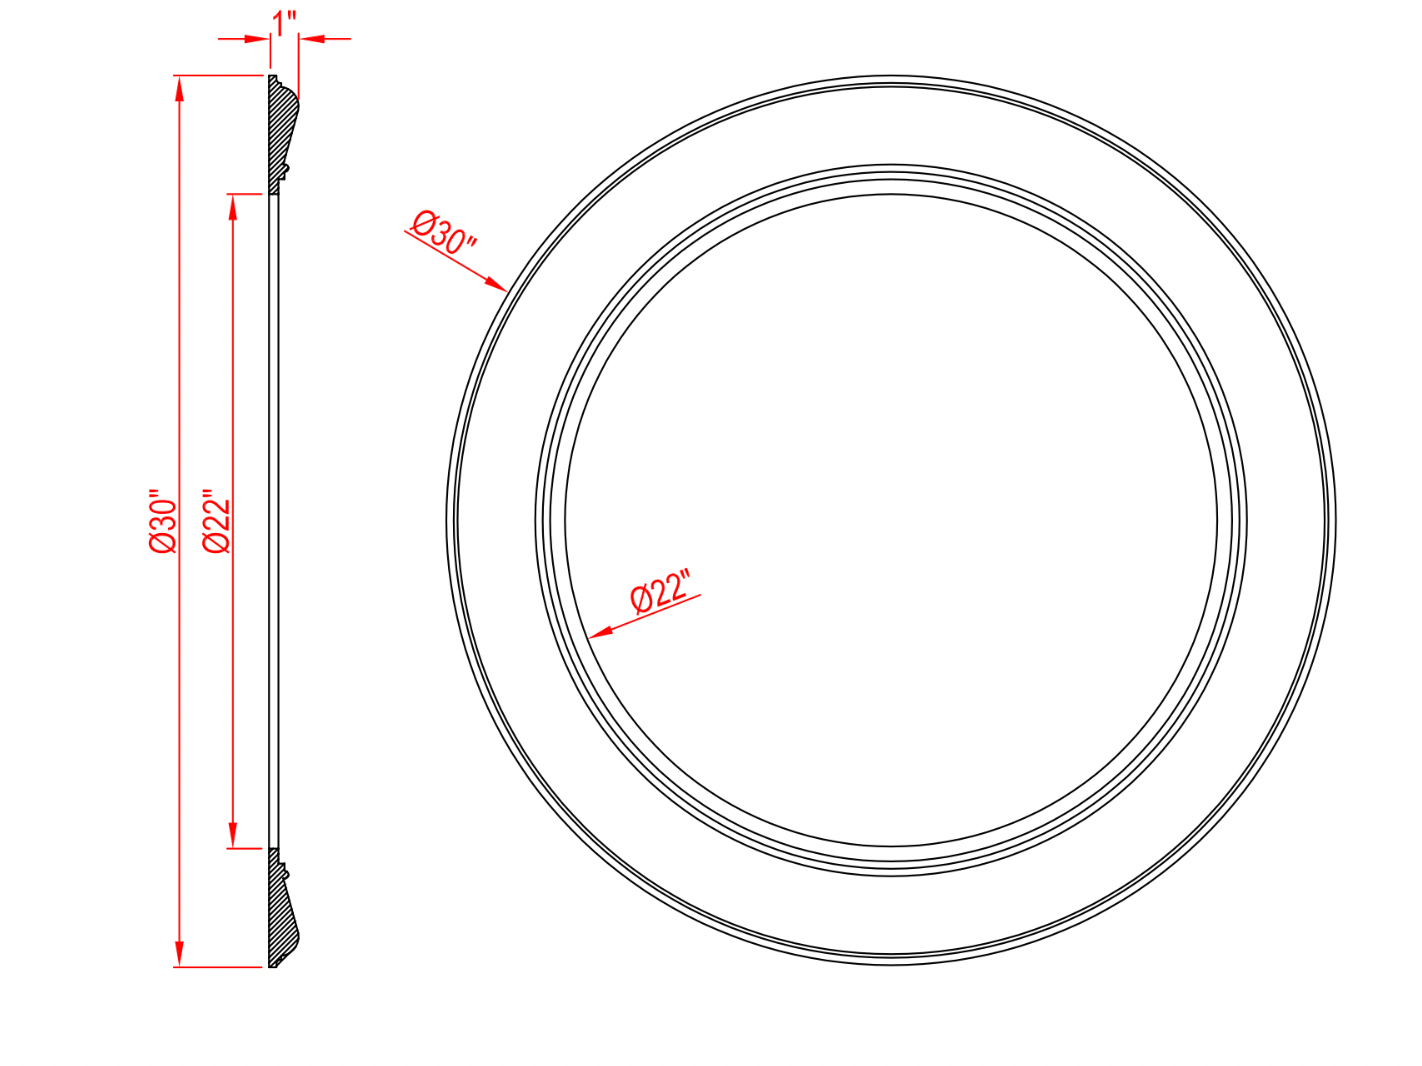
Polyurethane, Contemporary Ceiling Medallion 30" Outside Diameter, x 1" Projection and a 22" Opening. Finished with a smooth, white paintable surface.
-
Installing Ceiling Medallions
Find helpful tips, specifications and installation advice on how to install our Ceiling Medallions. Read through the instructions to see if this is the right product for you.
Polyurethane, Contemporary Ceiling Medallion 30" Outside Diameter, x 1" Projection and a 22" Opening. Finished with a smooth, white paintable surface.
-
Medallion SizeMedallions 30" to 39"
-
Production Time2-3 weeks estimated
-
Tarrif Code3925.90.0000
-
Shipping Cost$19 or Free on any Ceiling Medallion order over $150
Limitations to our Shipping Specials
Step #1:
Disconnect and remove light fixture before installing ceiling medallion over an existing fixture. Ensure Electricity at fuse or circuit box is turned off before installing.
Step #2:
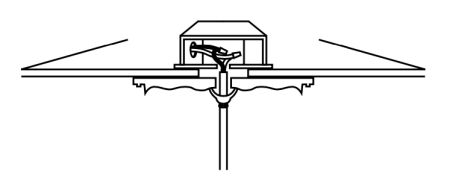
Drill center hole of medallion to allow wires to slip through for the connecting of the light fixture to power source. Make sure the hole is no larger than the canopy cover.
Step #3:
Slip wires through medallion center-hole with canopy and ring loose.

Step #4:
Connect fixture wires to power source. Slide medallion, canopy cover and ring up towards the ceiling. Tighten ring snug against medallion.

Step #5:
Use finishing nails or screws on the edges of the medallion in order that the medallion is flush all around the perimeter. The ring is the support of the fixture. The medallion should not be support for the fixture. If you may need access to the electrical box in the future, we recommend not using adhesives.
Step #6:
Countersink finishing nails and fill holes with wood filler.
Step #7:
Paint medallion using a high quality latex or oil base paint. This step can be done first, and then apply touch ups to filled holes after installation.


