


- Non-Structural Column Wraps
- Structural Fiberglass Columns
- Cellular PVC
- Decorative Millwork
- T&G | Shiplap Planks
- Premier Shutters
- Outdoor Living
- Ceiling Beams
- Flexible Mouldings
- Interior Ceilings & Walls
- Wainscoting
- Clearance Items
Installing Fiberglass Columns
Installing Fiberglass Columns
From HB&G 2021. Want to print a copy? Find it here.
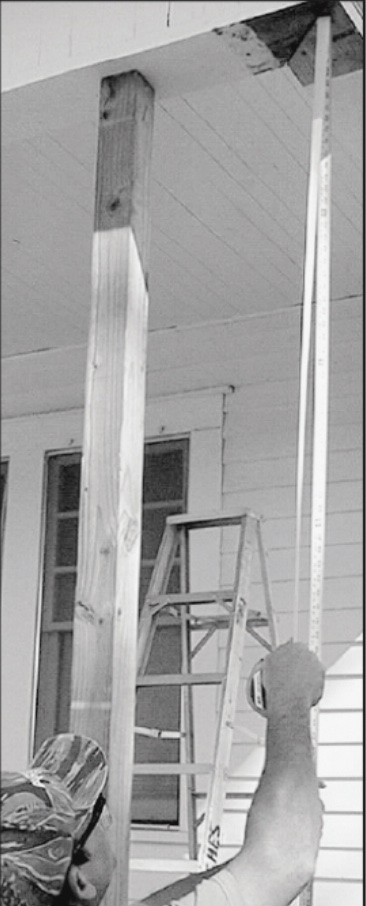
1. Measure opening in four places: front, back, left, and right of column (see drawing). Mark column accordingly. If the column is too long, shorten the length from the bottom.
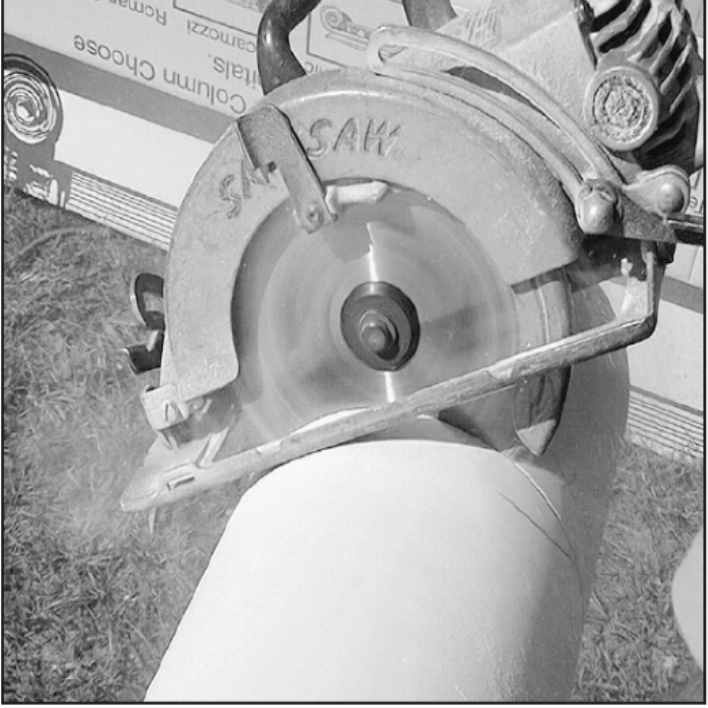
2. Use an abrasive saw (masonry or carbide tip blade). Fine trim top and bottom with a rasp to ensure flat surface contact.
3. Slip base over the top of column shaft and allow to slide to the base of the shaft. Slip cap over the shaft and allow to rest on neck mould. Some sanding may be required.
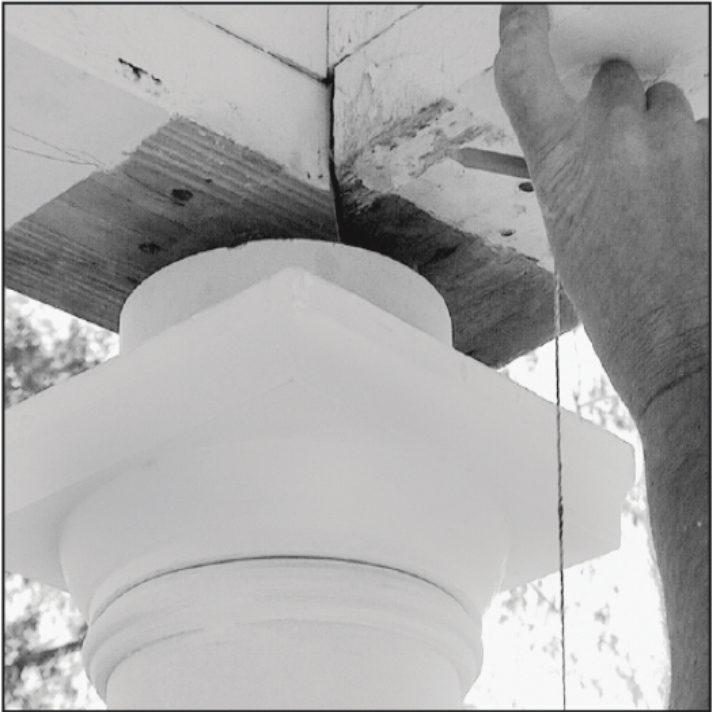
4. Put assembly in place and plumb. Make sure load is centered over the column shaft and evenly distributed around the bearing surface.
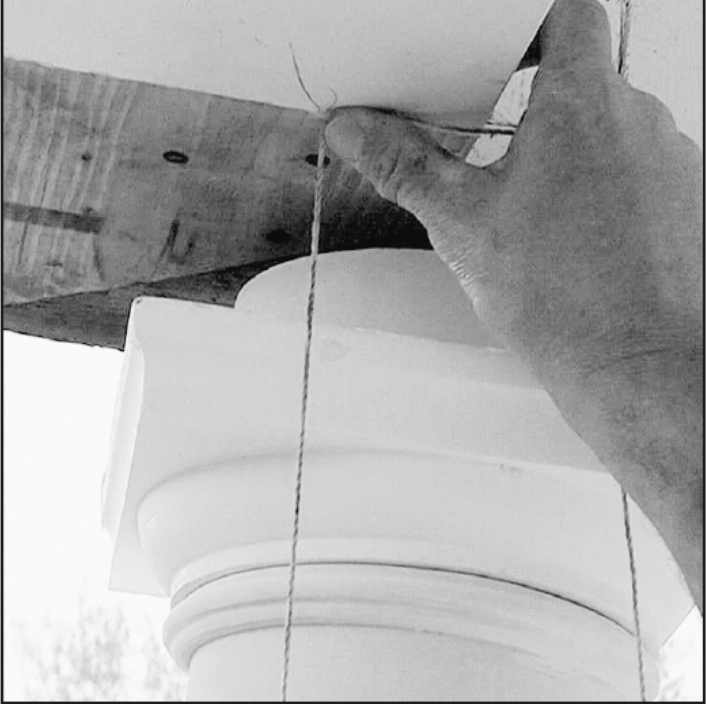
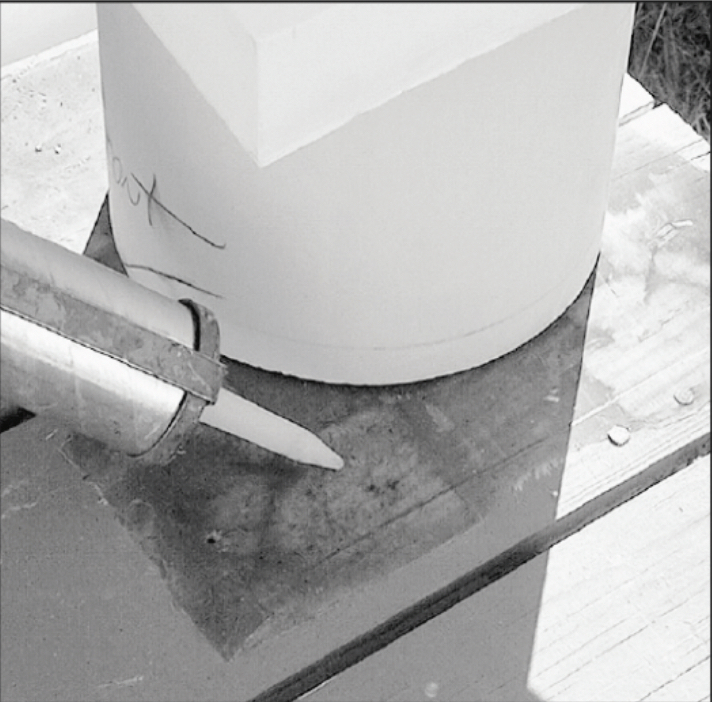
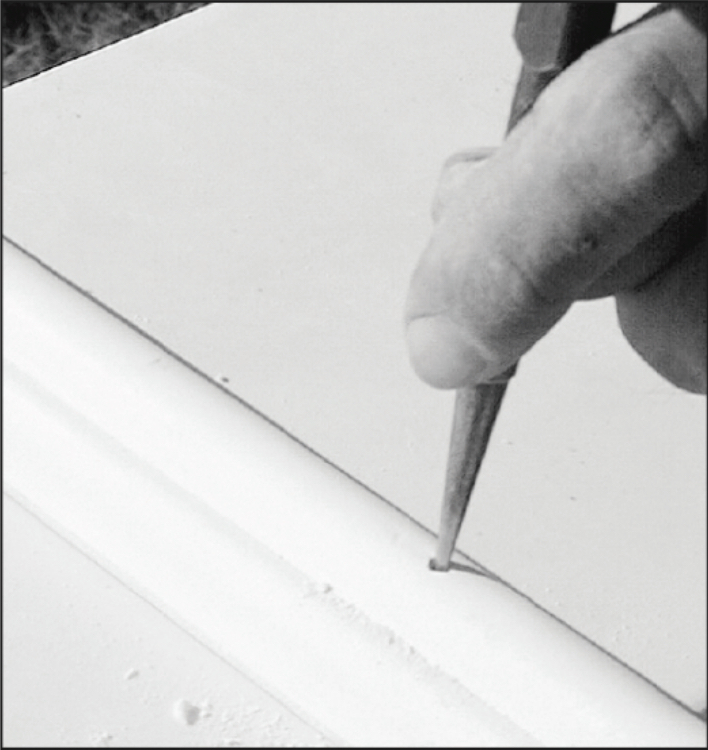
5. Apply construction adhesive in the way you would apply a caulk, around the column shaft where it contacts the floor and beam. Use your finger to press/squish the bead of adhesive into contact with those surfaces.
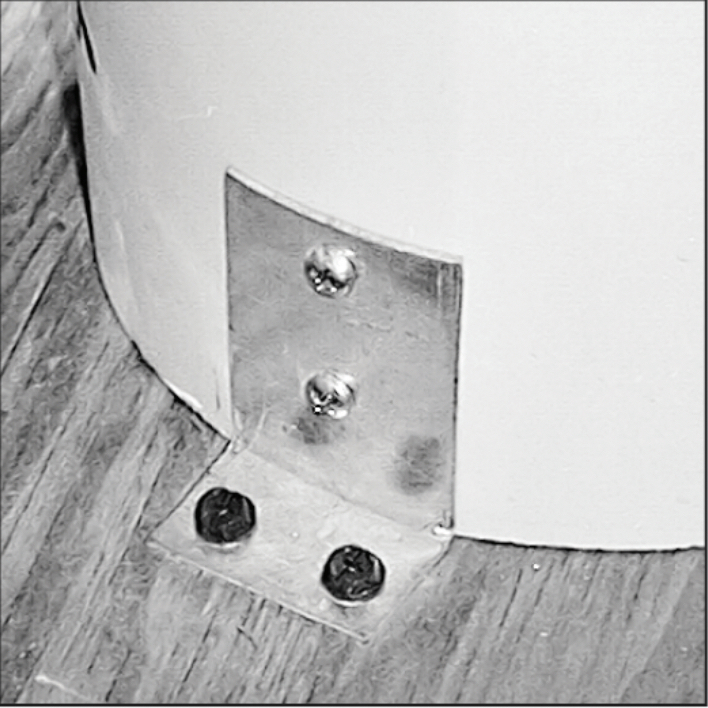
6. Mark and drill holes in floor and column shaft for corner/ angle brackets (not included). (Column installation kit available #17040)
7. Apply construction adhesive* to top of the cap, press against structure, and screw or nail into place.

8. Apply construction adhesive* to bottom of base and nail or screw to the floor.

Installing Neck Moulding to Square Fiberglass Columns (If included)
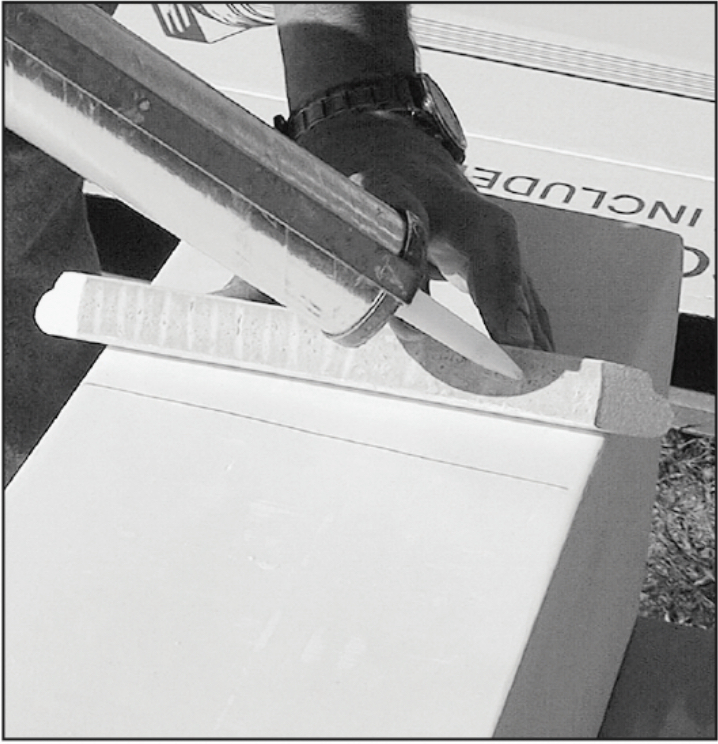
9. Mark location for supplied neck moulding. Apply construction adhesive* and put neck mould in place.
*Use a non-acetone based exterior-grade construction adhesive
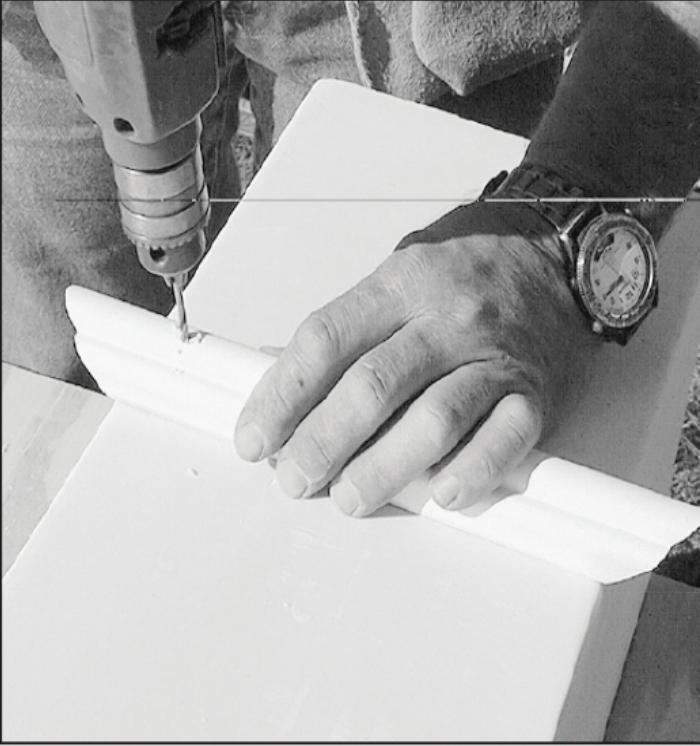
10. Pre-drill holes through neck mould into the column. Screw neck mould in place or pre-drill and use finish nails.
11. Set screws or nails and use caulk to cover holes.
INSTALLATION TIPS
Note 1: Decorative Capitals When installing a round Fiberglass column with a decorative capital, subtract the cut at bead (“T”) dimension (distance from the top of decorative capital to the top of neck mould) and add the height of the decorative capital. This can lengthen or shorten the height of the column. You can find the cut-at-bead (“T”) dimension in the products brochure.
Note 2: Required Loading Ensure concentric loading of the column, 100% of bottom must contact substrate and 75% of the top must contact soffit.
Note 3: Handrail When attaching handrails or rail mounting hardware to round or square fibreglass columns, holes must be pre-drilled.
Note 4: Cap and Base Light sanding may be needed for the correct fitting of the base.
Note 5: Do not install columns below grade or fill with concrete.
Note 6: If used in free-standing applications, structural posts must be used inside column shafts.
PAINT TIPS:
- Make sure all surfaces are clean. Prime with an exterior grade bonding primer (XIM primer 400 white or made for use with fiberglass or plastics) and 2 coats of high-quality exterior grade acrylic latex paint.
- Follow the paint manufacturer’s instructions for priming and finishing of fibreglass composite column and polyurethane cap and base.
- Do not paint using dark colors (dark colors are considered any color that falls within the L values of 56 to 0). L is a measure of the lightness of an object and ranges from 0 (black) to 100 (white).
From HB&G 2021. Want to print a copy? Find it here.