
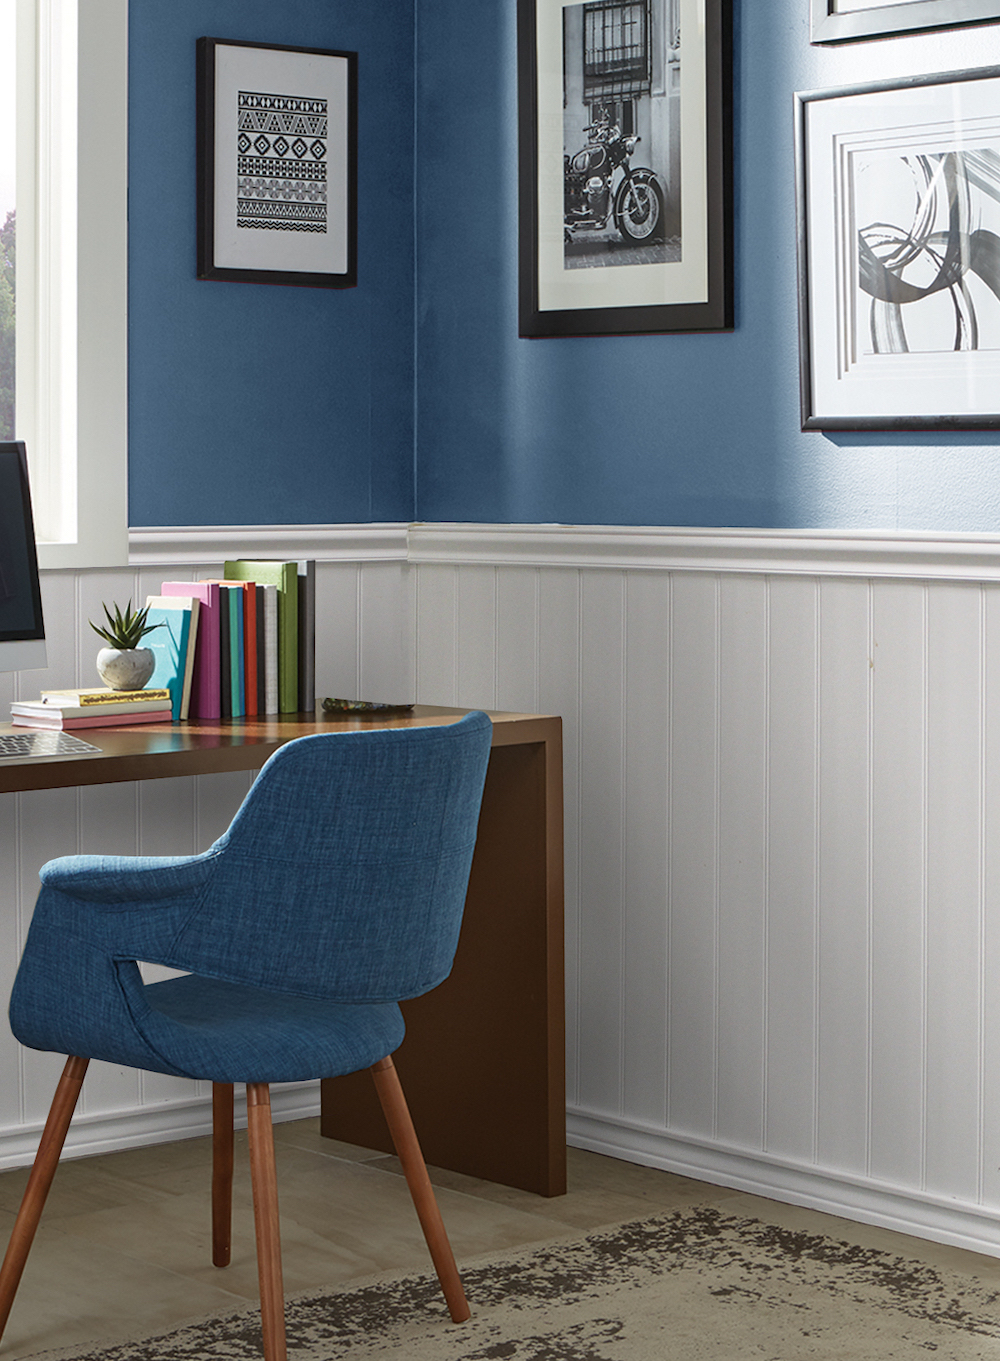


Vinyl Beadboard Wainscot Kit
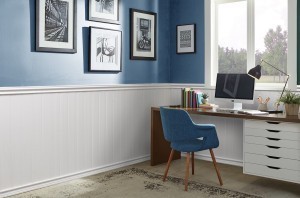
Elevate your interior with our Vinyl Beadboard Wainscoting Kit – an 8-foot masterpiece of pre-finished white perfection, available in heights of 36" or 52" (or shorter to suit your space).
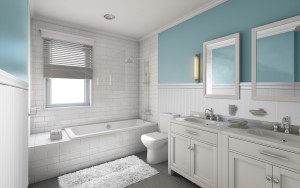
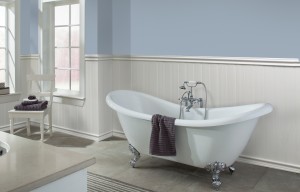
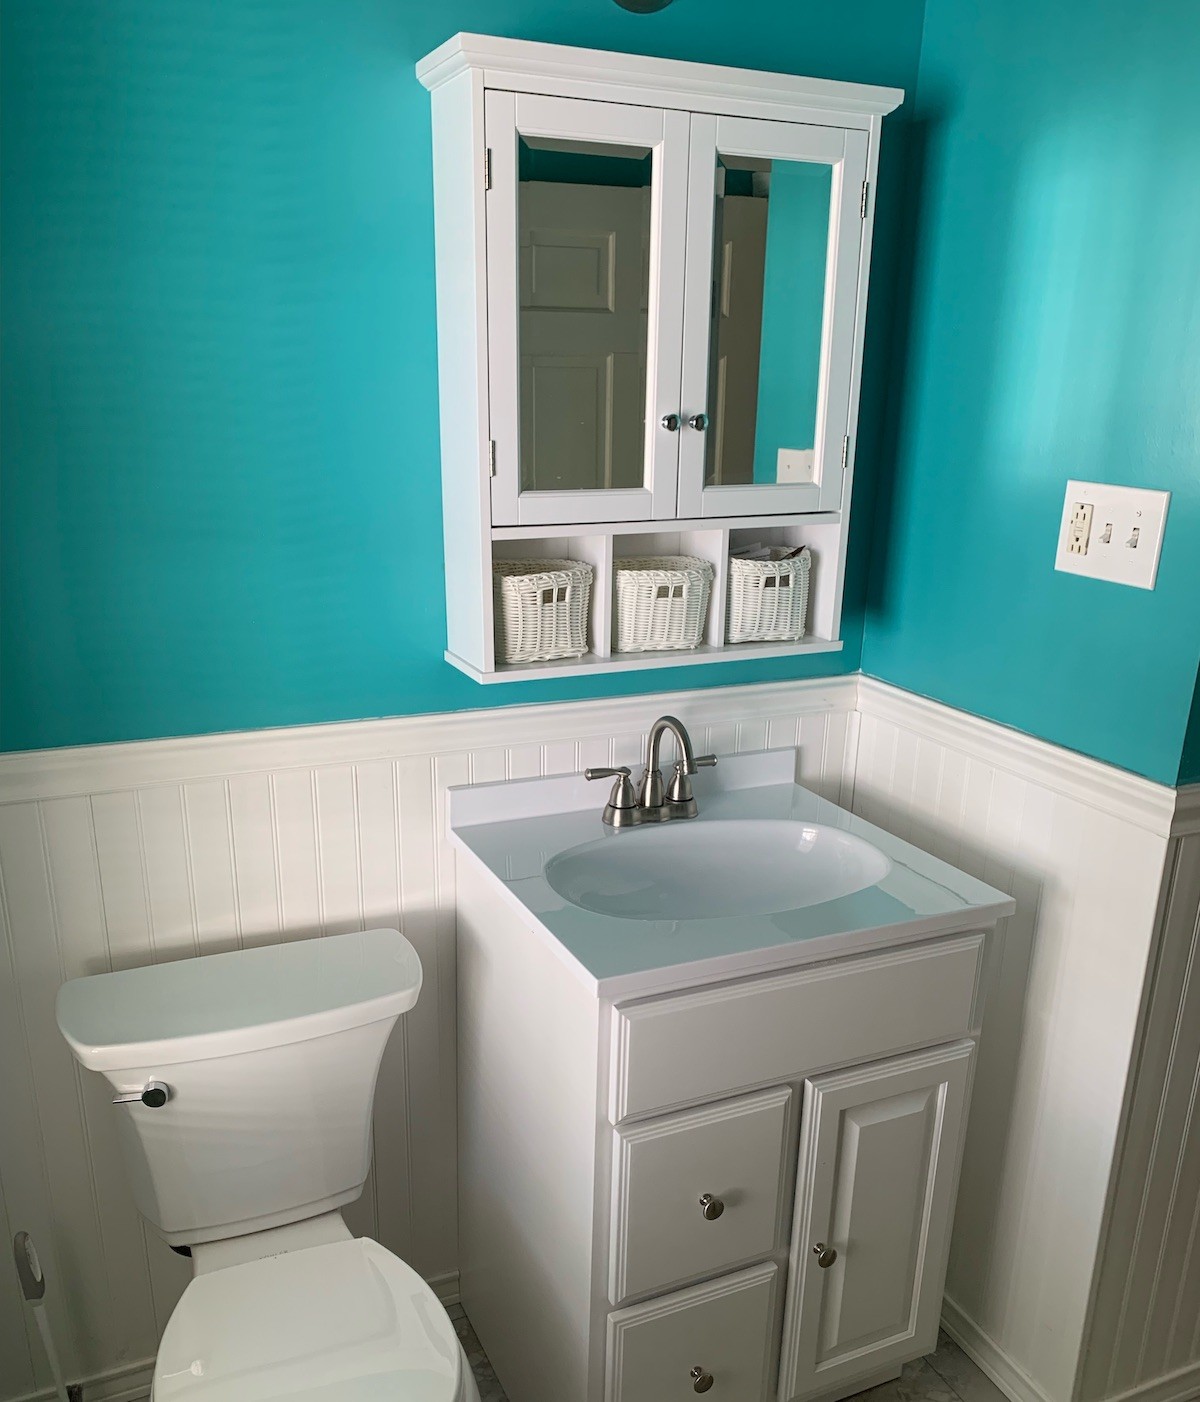
Designed with moisture-prone areas in mind, this kit is the epitome of versatility and resilience. Our Vinyl Beadboard Wainscoting Kit is engineered to withstand the elements and is ideal for bathrooms, mudrooms, and any space where moisture could pose a challenge.
Not only does it bring a touch of classic charm, but it's also a breeze to install. Resilient like wood but resistant to water and rot, this kit offers the best of both worlds. Want to add your personal touch? Feel free to paint it, although it's not a necessity – the pre-finished white exudes timeless elegance.
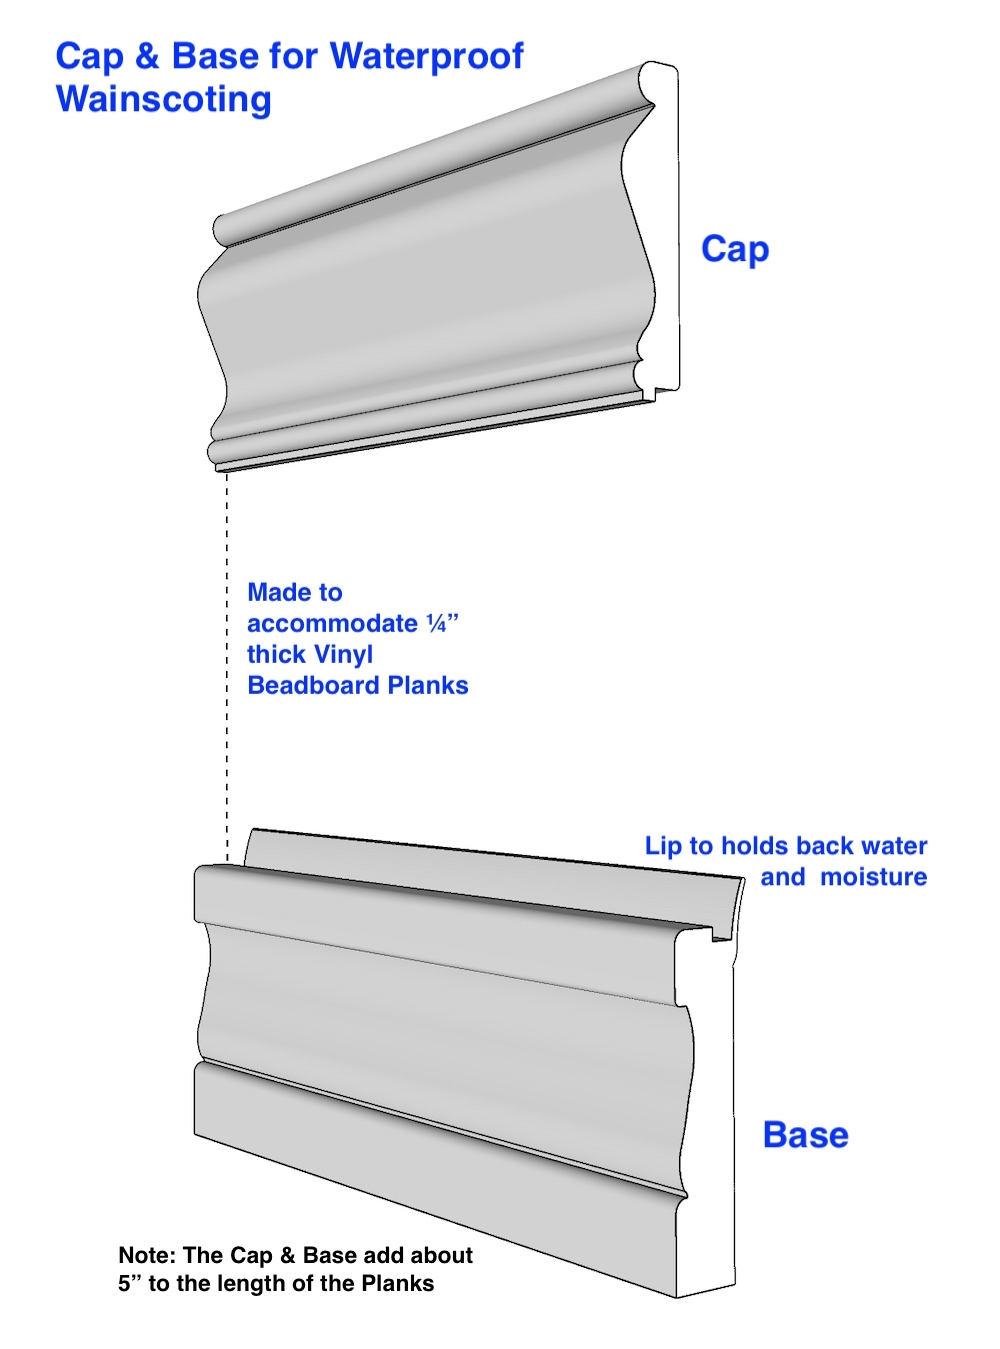
Crafted from a composite of Cellular PVC specifically tailored for interior applications, this kit includes all the trims necessary for eight running feet of transformative wall coverage. The eight-foot Cap and Baseboard contribute an additional 5" to the plank height, ensuring a seamless and polished finish.
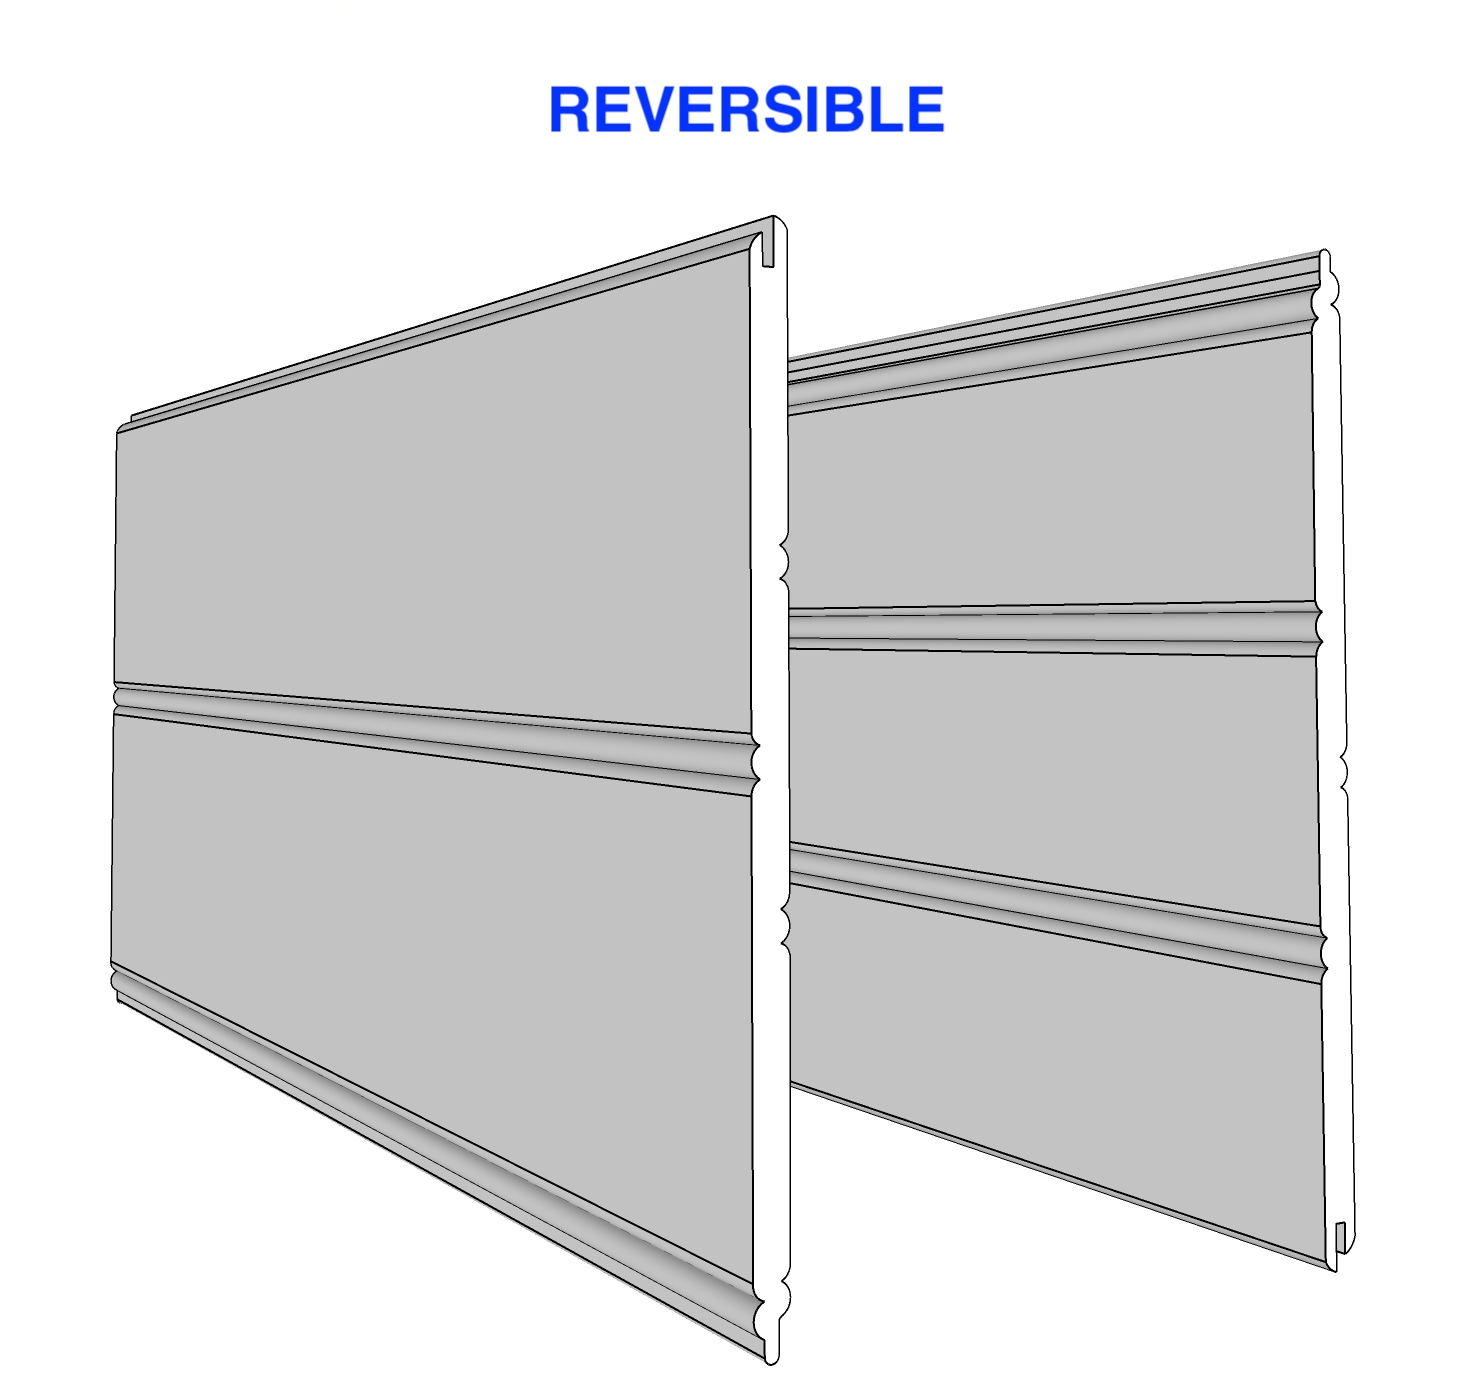
Dive into the details – the PVC planks a quarter-inch thick and approximately 7 ½" wide, with 7 ¼" of pure elegance exposed. What sets it apart? The reversible planks, featuring beads spaced at either 2 ¼" or 3 ½" apart, provide you with the creative freedom to customize your space.
Transform your space effortlessly with our Vinyl Beadboard Wainscoting Kit – a harmonious blend of style, durability, and functionality. Redefine your interior with a touch of sophistication that stands the test of time.
-
Vinyl Wainscoting How To
Detailed installation instructions
Discover the perfect blend of convenience and sophistication with our Vinyl Beadboard Wainscoting Kit – an 8-foot solution that includes all trims elegantly crafted in pre-finished, low-maintenance vinyl white. Designed to effortlessly cover 8 running feet of your wall, this kit requires no painting, although the option is available for those seeking a personalized touch. Crafted from a composite of Cellular PVC tailored for interior applications, it seamlessly marries durability with aesthetic appeal.
Dive into the specifics: The eight-foot Cap and Baseboard add a refined 5" to the plank height, ensuring a polished finish. The PVC planks, a quarter-inch thick and approximately 7 ½" wide, expose a 7 ¼" of timeless beaded design. What sets these planks apart is their reversibility, offering creative flexibility with beads spaced either 2 ¼" or 3 ½" apart.
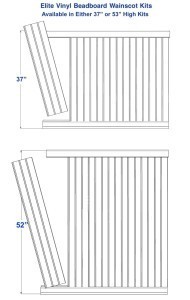
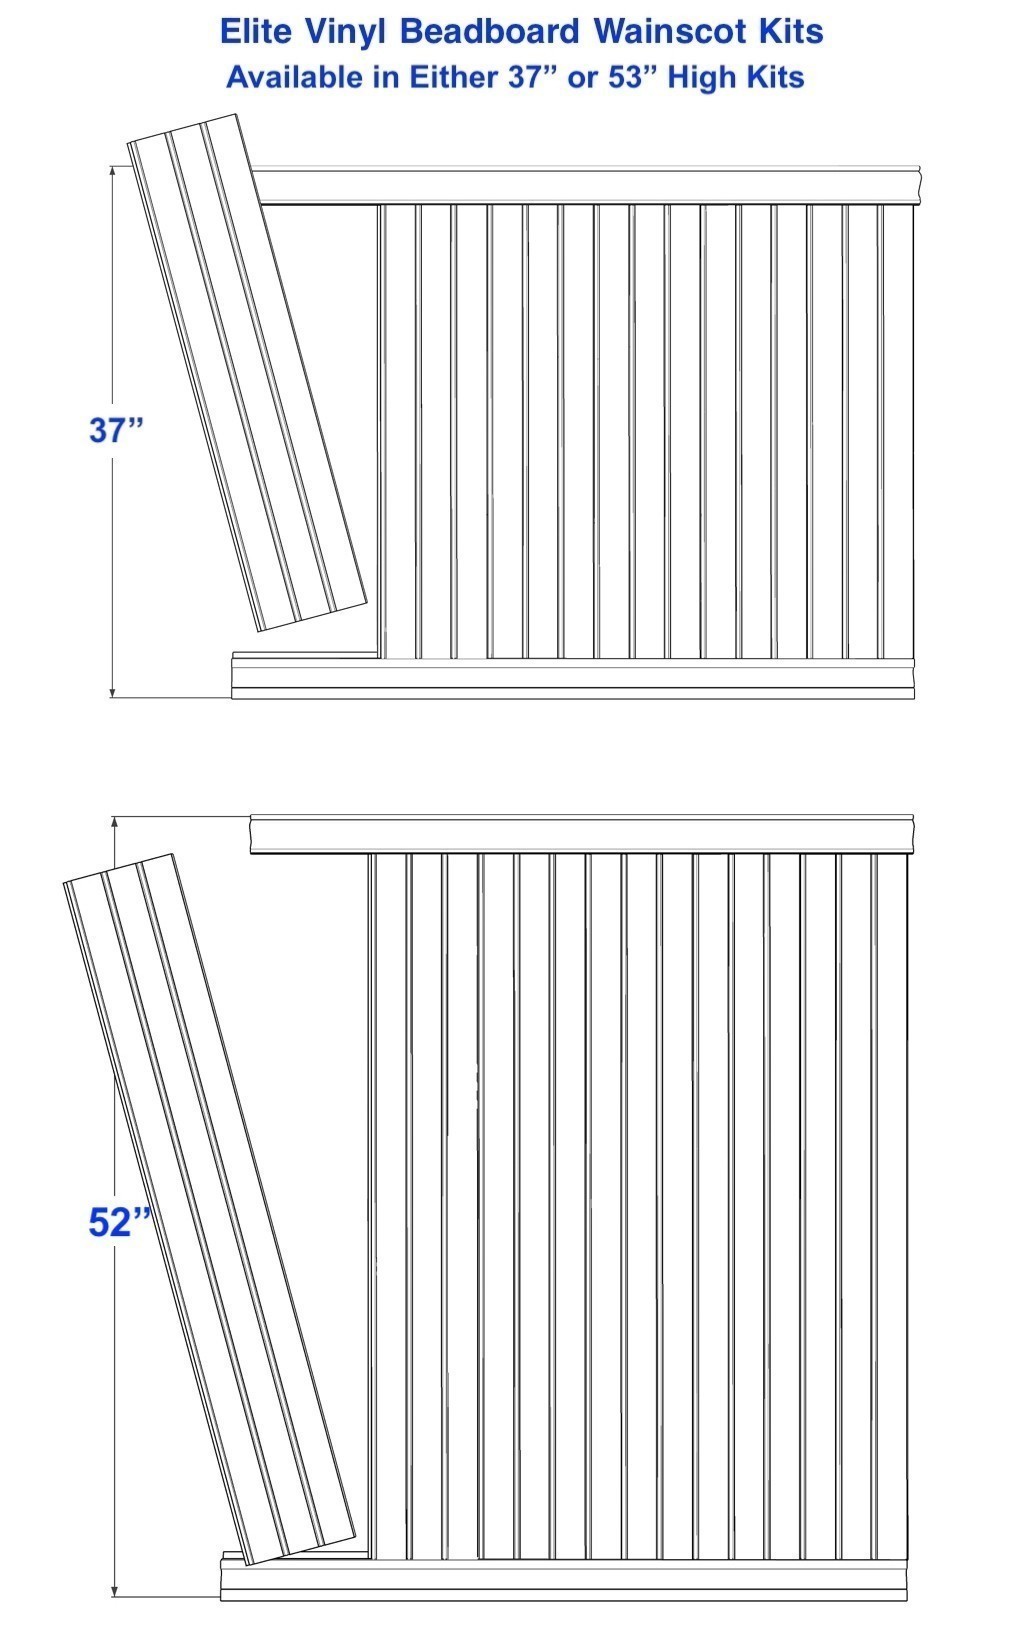
Explore the two height options:
- The 36" High Kit provides enough beadboard for 13 planks, each approximately 32" long x 7.25" wide.
- The 52" High Kit includes sufficient beadboard for 13 planks, each 47" long x 7.25" wide.
Note that planks may be shipped pre-cut or at the full 8-foot length, potentially requiring on-site cutting for customization in lower wainscot applications.
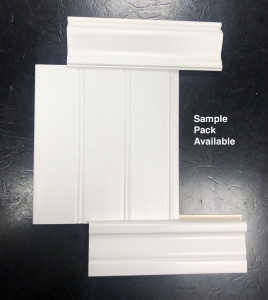
For a sneak peek, consider our Sample Pack option. While the cost primarily covers shipping, we've got you covered with the inclusion of shipping costs. One sample per client, please.
To guide you through the seamless installation process, check out our installation tips here: Installation Tips
A logistical note: The actual length of the kit is 95", just within the maximum parcel shipping length of 96", which includes cushioning and packaging.
*Free Shipping Specials are applicable to major Canadian cities. Elevate your space with our Vinyl Beadboard Wainscoting Kit – where convenience meets sophistication.
-
Shipping CostFree Shipping Special on Samples and orders over $500 (Vinyl Beadboard components). For orders under $500, $25 per kit.
Limitations to our Shipping Specials -
Production TimeQuick Ship
-
Tarrif Code3925.90.0000
-
Height36", 52", Sample Pack
INSTALLATION INSTRUCTIONS FOR VINYL WAINSCOTING
“Perfect Finish” Ready-to-Install PVC/Cellular Composite Wainscot * NO PAINTING REQUIRED!

Its made from high strength PVC materials. This material works like wood: cuts, glues or nails. However it will not splinter or crack and has no knots. This product has a lifetime warranty on rot. The product is for interior use only.
Tools: Mitre Saw or Hand Saw, Hammer, Level, Square, Caulking Gun, Tape Measure, Pencil
[image 1 ]
Additional Materials
Panel Adhesive (PL Premium or No More Nails Tub Surround), 1’’ finishing nails or brad nails (Optional)Installation Tips
Use a quality panel adhesive and follow manufacture’s instructions. When tapping panels into each otheruse a wood block or end cut of one of the panels. Do NOT use the hammer directly on the panel or butt panels too tighly. Allow for normal expansion and contraction (1/32").
For better holding strength angle all nails and drive nails leaving 1/8” above surface and finish using a nailset. When possible nail into moulding groove. This avoids surface damages. For cleaner cut, saw into the finished surface.
When you approach an outlet, turn off the power. Take careful measurements of the outlet location and cut out the opening.
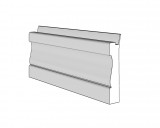
Installation: Base Trim
Measure your wall, if your wall is longer than 8’ pre-mitre the joining end with the next piece of base board you will be using.
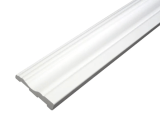
[image 7 ]
Make certain the Base Trim has the pre-grooved end up before glueing or nailing. Apply glue in a zig-zag pattern on back of Base Trim and apply to wall. Make sure Base Trim pieces align on the wall
[image 2 & 3 ]
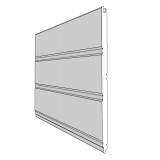
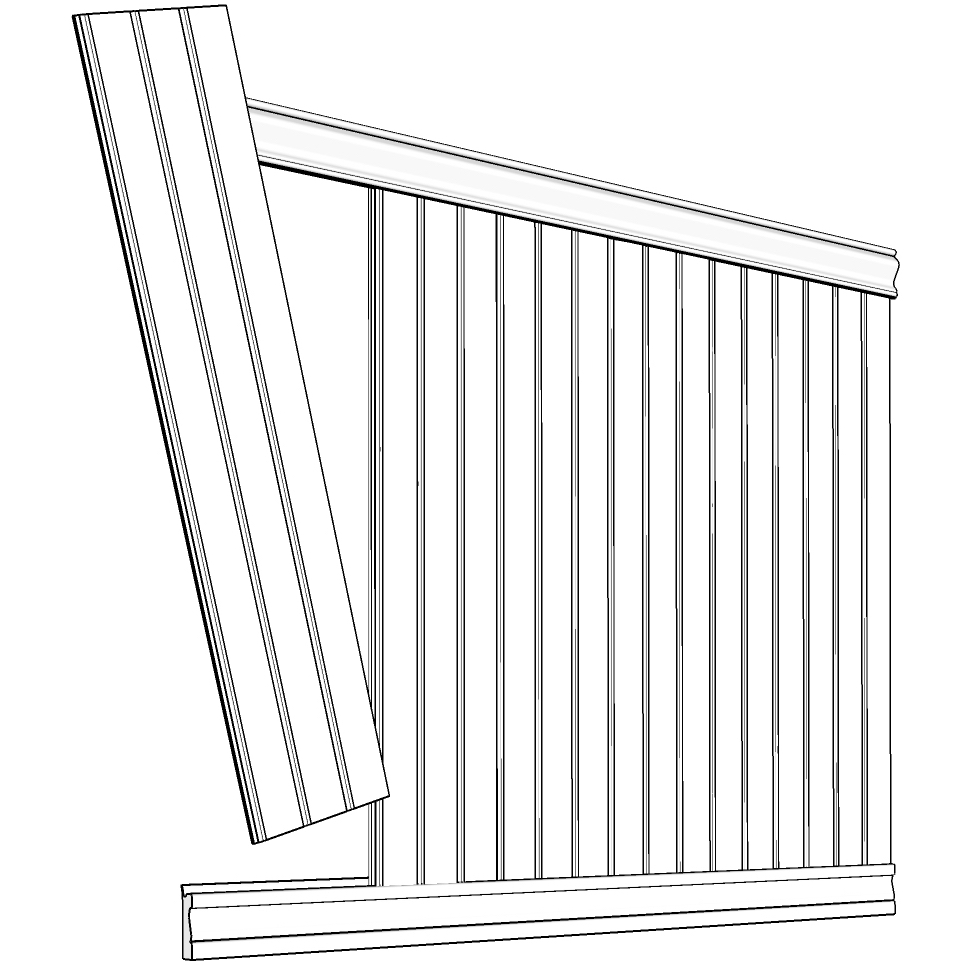
Installation: Panel
The correct installation of the first panel board is the key to an easy and successful installation.
Begin at the left most corner of your installation (opposite if you are left-handed). Each panel is tongue and grooved for a uniform fit and easy installation. Determine which side you want to enhance your room beaded or smooth. Keep the groove edge towards the starting corner. Using a level make sure the first panel is absolutly square. When necessary, scribe and remove material from the panel from the groove
side (inside corner).
[image 4 ]
Next, determine the height you want for your wainscot and cut only if necessary.
[image 5 ]
Do not force fit pieces together. Apply glue on back side of panel place into groove on Base Trim and position into corner.
[image 6 ]
(Optional) Nailing the top, middle and bottom tongue every 16” will ensure better adhesion.Carefully measure and fit next panels. The last panel may also need to be trimmed to fit into the corner.
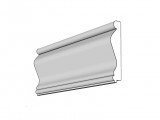
Installation: Chair Rail
Make sure that all panels are correctly installed.Measure your wall, if your wall is longer than 8’ pre-mitre the joining end with the next piece of Chair Rail you will be using.
[image 7 ] Make certain the Chair Rail has the pre-grooved end down before glueing or nailing.
Apply glue in a zig-zag pattern on back of Chair Rail and apply to wall. Make sure Chair Rail pieces align on the wall.
[image 2 & 3 ]
Maintenance
Cleaning your Vinyl Millwork with a damp cloth makes it look like new.
-
John GuerriereApr 1, 2022, 03:38 PMThough it's been 6 months since I purchased the Elite Trimworks vinyl beadboard kits, it's only just now that they've been installed in my newly remodeled master bath.__________
All 3 kits arrived in perfect condition. The color was uniform throughout the separate kits, and the finish is a beautiful satin - not overly shiny. The shade of white was just right for us, not a glaring white at all. So, goodbye painting!__________
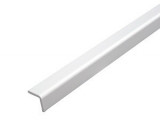
The panels and trim installed perfectly using a quality construction adhesive, and tiny air-driven nails along edges where they're forever hidden. I wish I could add photos here to show how ingeniously my installer figured out a beautiful way to end the beadboard at an outside corner, using exterior solid vinyl brick mold for door trim!__________
The kits have changed since my purchase. A person with a very discerning eye can tell that my beadboard planks are thicker on the outer edges than in the middle. That causes a very minor undulation as you look down a wall. You can see it best when you look down at the baseboard piece, where the gap increases and decreases repeatedly along the wall.__________
It's actually very minor, and I assume the newest design now being offered has eliminated that issue. Overall, my wife ad I are quite satisfied, and recommend the Elite Trimworks vinyl beadboard kits which, surprisingly, have actually gone DOWN in price!!